Automatic Pool Vacuum : Advantages & Tips for Buying
If you own a pool, you know how much work goes into keeping it clean. Traditional methods like using a manual vacuum or hiring a professional can be time-consuming and costly. That’s where an automatic pool vacuum comes in. This tool can make your pool cleaning easier, faster, and more affordable. In this blog, we will explain what an automatic pool vacuum is, how it works, its benefits, and what you should look for when buying one.
What is an Automatic Pool Vacuum?
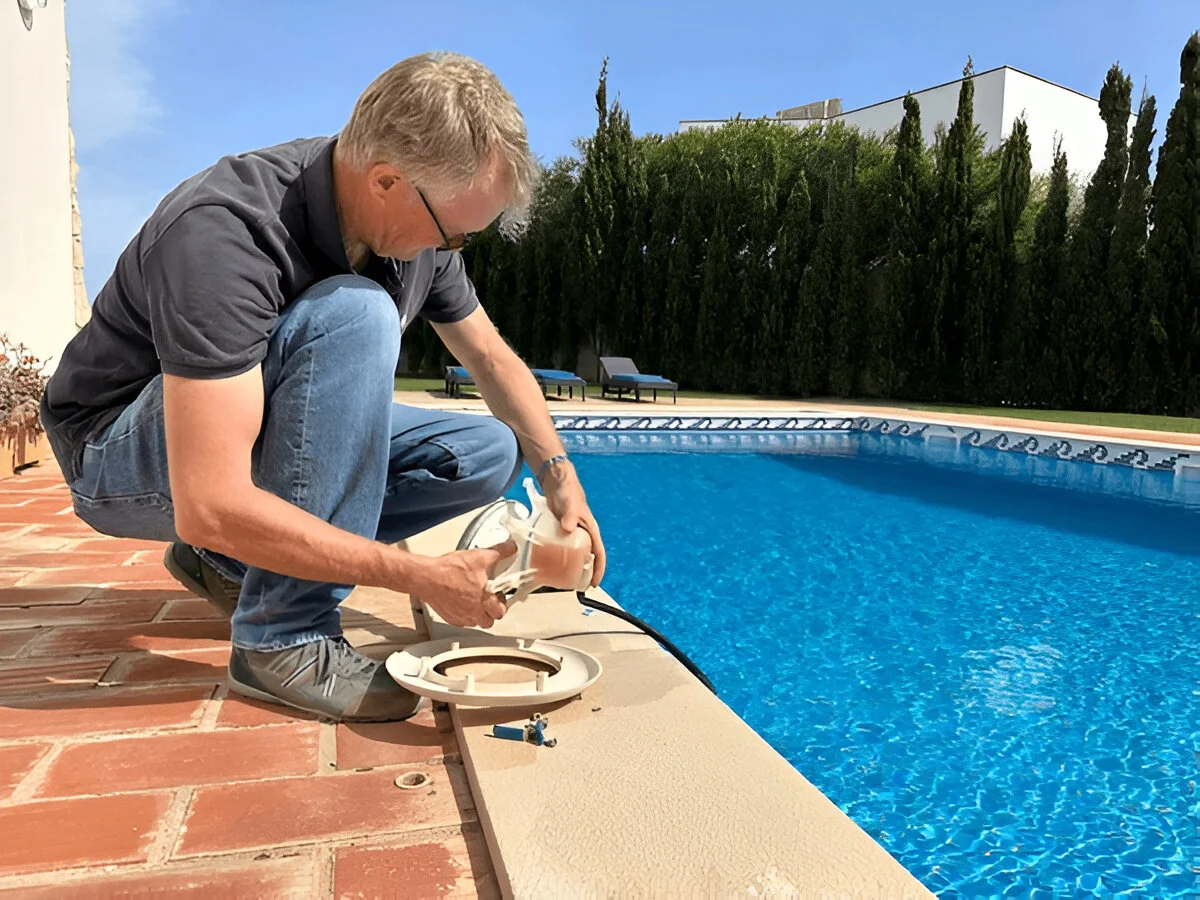
An automatic pool vacuum is a device that cleans your pool without requiring constant effort from you. It moves around the pool, sucking up debris, dirt, and leaves, and deposits them in a filter bag. Unlike traditional manual vacuums, which require you to control them, automatic vacuums do all the work for you. All you need to do is set it in the pool, and it starts cleaning.
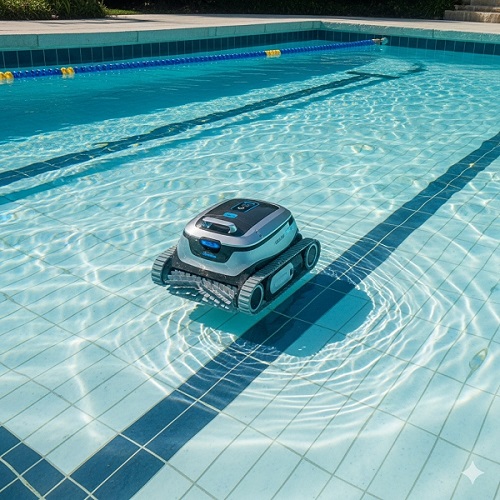
These devices are powered either by your pool’s filtration system or through their own motors. Some are robotic pool cleaners, which are fully independent and don’t require any connection to your pool’s pump. They use sensors to navigate the pool and clean it efficiently.
Features of an Automatic Pool Vacuum
Before choosing the right vacuum for your pool, it’s important to know what features to look for. Here are some key features you should consider:
1. Cordless or Corded Operation
Cordless: Cordless vacuums have their own battery, making them easier to move around. You don’t need to worry about tangled cables.
Corded: These vacuums connect to your pool’s filtration system. They are usually more powerful but might require more setup.
2. Motorized Brushes
Motorized brushes help scrub the walls and floor of your pool. A vacuum without motorized brushes may miss tough spots like algae or dirt on the walls.
3. Suction Power
The vacuum’s suction power is key to how well it cleans. A vacuum with strong suction can pick up more dirt, leaves, and debris. Choose a vacuum that suits the size of your pool and the amount of debris it collects.
3. Wall Climbing Ability
Not all pool vacuums can climb walls. A good robotic pool cleaner should be able to clean the sides of the pool as well as the bottom. This ensures that the entire pool is spotless.
5. Filter Type
Check the filter type of the vacuum. A cloth filter will trap smaller particles, while a mesh filter may let some finer debris slip through. Some vacuums have reusable filters that are easy to clean.
6. Pool Size Compatibility
Make sure that the vacuum is compatible with the size of your pool. Some vacuums are designed for small pools, while others work best for larger pools.
How Does an Automatic Pool Vacuum Work?
An automatic pool vacuum works by using its wheels or tracks to move around the pool. It connects to the pool’s filtration system or runs on its own battery. The vacuum uses its suction power to collect debris, which is then stored in a filter bag or cartridge.
Some robotic vacuums have sensors that map out your pool, allowing them to clean in a structured pattern. This means they don’t miss any areas, and the cleaning process is more efficient.
Once the vacuum has finished cleaning, you can remove it from the pool and empty the filter bag. Some vacuums automatically return to their charging station when the job is done.
Benefits of Using an Automatic Pool Vacuum
An automatic pool vacuum can make your pool maintenance a lot easier. Here are the key benefits of using one:
Saves Time: Once you place the vacuum in the pool, it does all the cleaning for you. No more hours spent manually scrubbing and vacuuming.
Consistent Cleaning: An automatic vacuum cleans regularly, ensuring your pool is always ready for a swim. You don’t have to worry about dirt building up.
No Hassle: You won’t have to deal with tangled cords or hoses. Just set the vacuum in the pool and let it clean.
Energy Efficient: Many vacuums use less energy compared to traditional cleaners, saving you money on electricity bills.
Easy to Maintain: Automatic vacuums are easy to maintain. Most models have filters that are easy to clean and replace.
Better Cleaning Performance: With motorized brushes and strong suction, automatic vacuums can clean every corner of your pool, even the walls.
What to Look for When Buying an Automatic Pool Vacuum
Choosing the right automatic pool vacuum can be a bit overwhelming with all the options available. Here are some tips to help you choose the best one for your pool:
1. Pool Size and Shape
Consider the size and shape of your pool. If you have a large pool, you may need a vacuum with stronger suction and longer battery life. Some vacuums are better for round or oval pools, while others are better for rectangular or custom shapes.
2. Cleaning Features
Look for vacuums with motorized brushes and wall climbing abilities. These features will ensure that your entire pool, including the sides, is thoroughly cleaned.
3. Filter Type and Capacity
Make sure the filter can handle the amount of debris in your pool. Larger pools with more trees may require a vacuum with a larger filter bag.
5. Battery Life
If you choose a cordless pool vacuum, check the battery life. You don’t want the vacuum to stop cleaning halfway through the job. Look for models that last long enough to clean your entire pool.
6. Price and Warranty
Consider your budget, but also think about the long-term value. A quality vacuum may cost more upfront but can save you money on pool cleaning services in the long run. Be sure to check the warranty for peace of mind.
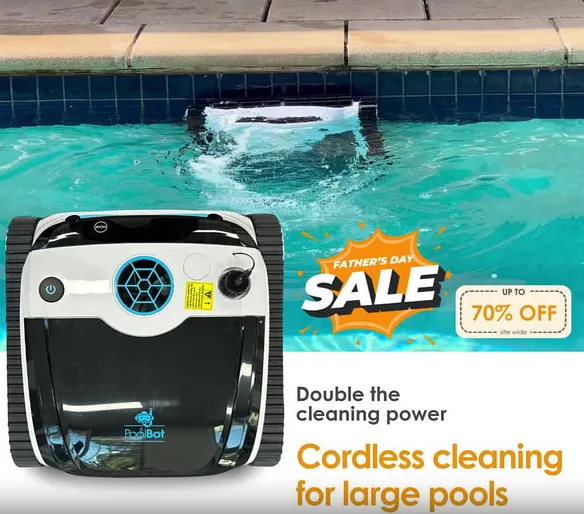
PoolBot: A Great Choice for Pool Cleaning
When looking for an automatic pool vacuum, PoolBot offers several excellent options. Their robotic pool cleaners are known for their advanced features, including cordless operation, strong suction power, and motorized brushes. With a variety of models like the PoolBot B300, there is a perfect match for any pool size and type.
PoolBot robotic vacuums are designed to be efficient, easy to use, and durable, making them a great investment for anyone looking to improve their pool cleaning routine. Whether you have a large backyard pool or a smaller one, PoolBot has a solution that works.