
Automatic Pool Vacuum : Advantages & Tips for Buying
If you own a pool, you know how much work goes into keeping it clean. Traditional methods like using a
Swimming pools are a great source of relaxation and fun, especially during warmer months. But when the season ends or you simply want to keep your pool clean and protected, covering your pool becomes essential. In this blog, we’ll take you through a step-by-step guide to covering your pool, so you can maintain it properly and avoid common issues like debris buildup, algae growth, or damage.
Whether you’re preparing for winter, heading out of town, or simply giving your pool a break, learning how to cover a swimming pool the right way is important. With the right tools and techniques, it doesn’t have to be complicated.
Before diving into the steps, let’s understand why covering your pool matters:
1. Keeps out leaves, dirt, and insects
2. Prevents algae growth by reducing sunlight exposure
3. Saves water by reducing evaporation
4. Improves safety, especially for children and pets
5. Reduces the need for frequent cleaning and chemical use
Now, let’s go over the actual process of covering your swimming pool safely and effectively.
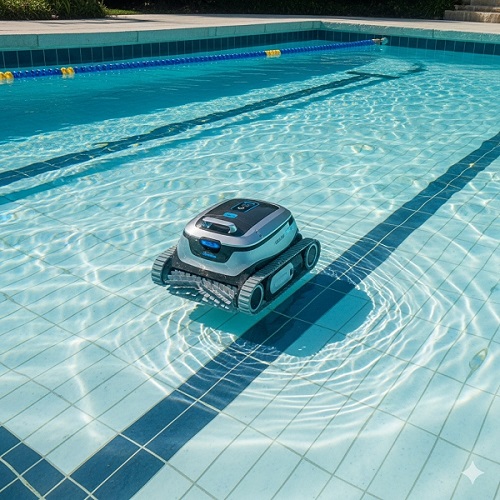
Before placing the cover, it’s essential to clean the pool. Remove all debris such as leaves, twigs, and dirt using a pool net. Scrub the sides and bottom to remove any algae or buildup.
If you have access to pool vacuum cleaners, now is the perfect time to use them. They do an excellent job of cleaning hard-to-reach areas and ensure your pool stays spotless underneath the cover.
Why this matters: Any debris left in the water can cause stains, promote algae growth, or even damage your pool lining over time.
Even when your pool is not in use, the water chemistry should be balanced to avoid damage to your pool surfaces and equipment.
Check and adjust the following:
1. pH level (ideal: 7.2–7.6)
2. Chlorine level (ideal: 1–3 ppm)
3. Alkalinity (ideal: 80–120 ppm)
4. Calcium hardness (ideal: 200–400 ppm)
Use a pool testing kit or strips to check these levels. Once they’re balanced, run your pump for a few hours to circulate the water.
Depending on your pool type and the climate in your area, you may need to lower the water level slightly. This is especially important for winterizing in cold regions to prevent water from freezing and expanding.
For in-ground pools: Lower the water below the skimmer or return jets.
For above-ground pools: Reduce the level by a few inches, but don’t go below the bottom of the skimmer.
Always check the manufacturer’s recommendations for your specific pool cover and region.
Take out any pool accessories before covering:
1. Ladders
2. Diving boards
3. Pool toys
4. Floats or skimmers
Clean and store them in a dry place. This prevents wear and tear and also ensures your cover fits properly.
Not all covers are created equal. The type of cover you choose depends on your needs:
1. Winter covers: Ideal for long-term use and cold climates
2. Safety covers: Offer protection against accidents and are great for households with kids or pets
3. Solar covers: Help retain heat and are best for short-term use
4. Automatic covers: Convenient and easy to use, but more expensive
When learning how to cover a swimming pool, selecting the right cover is key to your success.
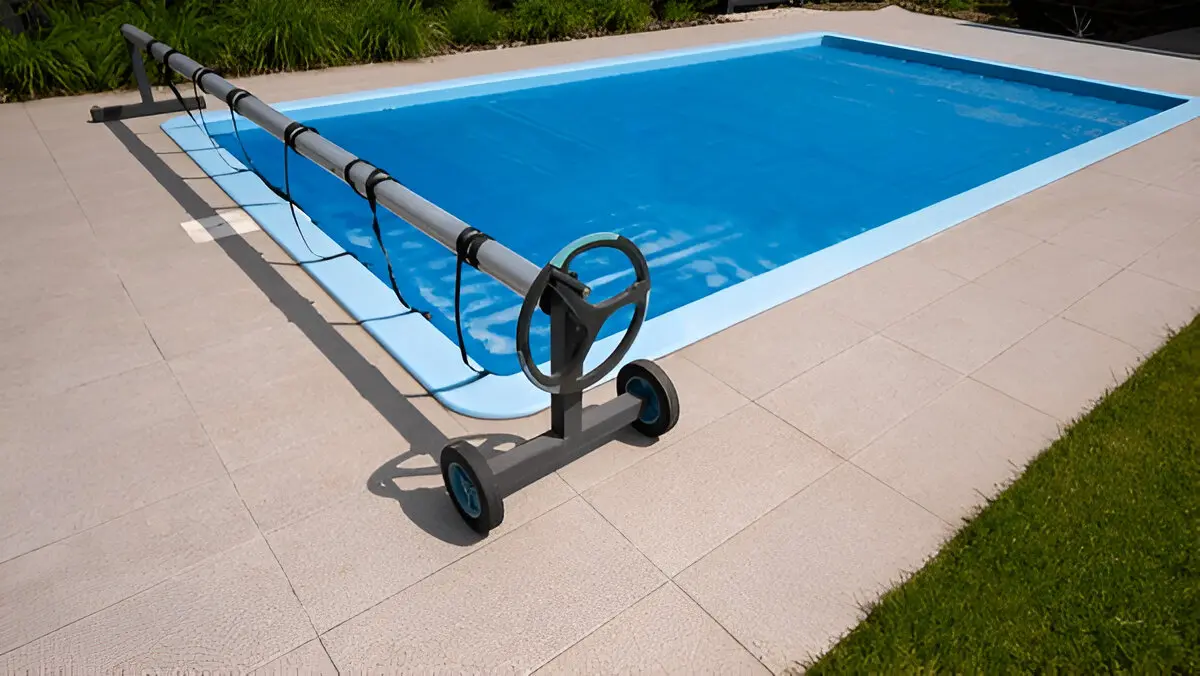
Once the pool is clean and ready, it’s time to lay the cover over the pool:
1. Unfold the cover and align it with your pool’s shape.
2. Start from one end and slowly spread it out across the pool.
3. Smooth out any wrinkles and ensure it lies flat.
Make sure the cover extends evenly over all sides.
To cover a swimming pool safely, securing the cover is the most important part. Use the appropriate method based on your pool type:
1. In-ground pools: Use water bags, cover clips, or a deck anchoring system.
2. Above-ground pools: Use a cable and winch system or cover clips to tighten and hold the cover in place.
Check that it’s snug and there are no open edges where wind can lift the cover.
Pool covers can collect rainwater, snow, or debris over time. This not only weighs the cover down but also risks tearing it.
Use a pool cover pump or choose a cover with built-in drain holes to remove excess water. Make a habit of checking and draining your cover regularly.
Even after covering, your pool needs occasional attention:
1. Check the cover every few weeks for debris or damage.
2. Clear off leaves and water promptly.
3. Inspect fasteners and weights to ensure everything is secure.
Following these easy tips for covering your swimming pool will help you extend the life of both your pool and its cover.
Knowing how to cover a swimming pool correctly is more than just pulling a tarp over the water. It involves careful cleaning, preparation, choosing the right cover, and securing it properly. By following the steps above, you not only protect your investment but also make pool opening next season a breeze.
And remember — a well-covered pool stays cleaner, uses fewer chemicals, and is safer for everyone around. It’s a simple task with big benefits.
If you’re also tired of manually cleaning your pool before covering it, consider investing in pool vacuum cleaners for quicker and more effective maintenance.
If you own a pool, you know how much work goes into keeping it clean. Traditional methods like using a

Keeping a pool clean is not easy for many people. It takes time to scrub the floor, clear the walls,